Basic Webpack React Setup
create-react-app is enough to create new React applications, and if you need to have some specific settings - you can always eject and alter its webpack configuration. But you need to set up a project from scratch.
In this tutorial, you will learn how to setup Webpack with Babel and React support. We'll also configure a dev server.
Step 1: Initialize Project
-
Create new folder
webpack-reactand open it:mkdir webpack-react && cd $_$_is a reference to the last argument to the previous command. -
Initialize a new npm project:
npm init -yThis command will create
package.jsonfile in your directory. We pass theyoption to skip the questions. -
Create file
src/index.htmlwith following contents:<!DOCTYPE html> <html lang="en"> <head> <meta charset="utf-8" /> <title>How to set up React, Webpack, and Babel</title> </head> <body> <div id="root"> <!-- Mounting point for your application --> </div> </body> </html>
Step 2: Set Up Webpack
-
Install
webpack,webpack-cli,webpack-dev-server,html-webpack-pluginandhtml-loaderas dev dependencies:npm i webpack webpack-dev-server html-webpack-plugin --save-devHere's why they are needed:
webpackis core dependencywebpack-dev-serverwill allow us to run dev serverhtml-webpack-pluginsimplifies working withhtmlfiles
-
Create
webpack.config.jswith following content:const HtmlWebPackPlugin = require("html-webpack-plugin"); const path = require('path'); module.exports = { entry: "./src/App.js", output: { path: path.resolve(__dirname, 'dist'), filename: 'bundle.js', }, plugins: [new HtmlWebPackPlugin({ template: "./src/index.html" })] }; -
Add
buildandstartcommands toscriptssection ofpackage.json:"scripts": { "build": "webpack --mode production", "start": "webpack-dev-server --open --mode development", }
Step 3: Set Up Babel
-
Install Babel dependencies:
npm i @babel/core babel-loader @babel/preset-env @babel/preset-react --save-devWe've installed babel and two presets here:
@babel/preset-reactto compile JSX down to Javascript@babel/preset-envto compile Javascript ES6 code down to ES5
-
Create
.babelrcwith following contents:{ "presets": ["@babel/preset-env", "@babel/preset-react"] } -
Add
babel-loaderto your webpack configuration:const HtmlWebPackPlugin = require("html-webpack-plugin"); const path = require('path'); module.exports = { entry: "./src/App.js", output: { path: path.resolve(__dirname, 'dist'), filename: 'bundle.js', }, module: { rules: [ { test: /\.(js|jsx)$/, exclude: /node_modules/, use: { loader: "babel-loader" } } ] }, plugins: [new HtmlWebPackPlugin({ template: "./src/index.html" })] };
Step 4: Set Up React
-
Install React dependencies:
npm i react react-domreact- provides us with API to work with componentsreact-dom- allows to render to HTML DOM
-
Create file
src/App.jswith following code:import React from "react" import ReactDOM from "react-dom" const App = () => ( <> <h1>Hello React</h1> <p>Minimal React configuration.</p> </> ) ReactDOM.render(<App />, document.getElementById("root"))
Step 5: Run The App
Start webpack-dev-server by running npm start:
npm start
It should open a browser window and you should see this:
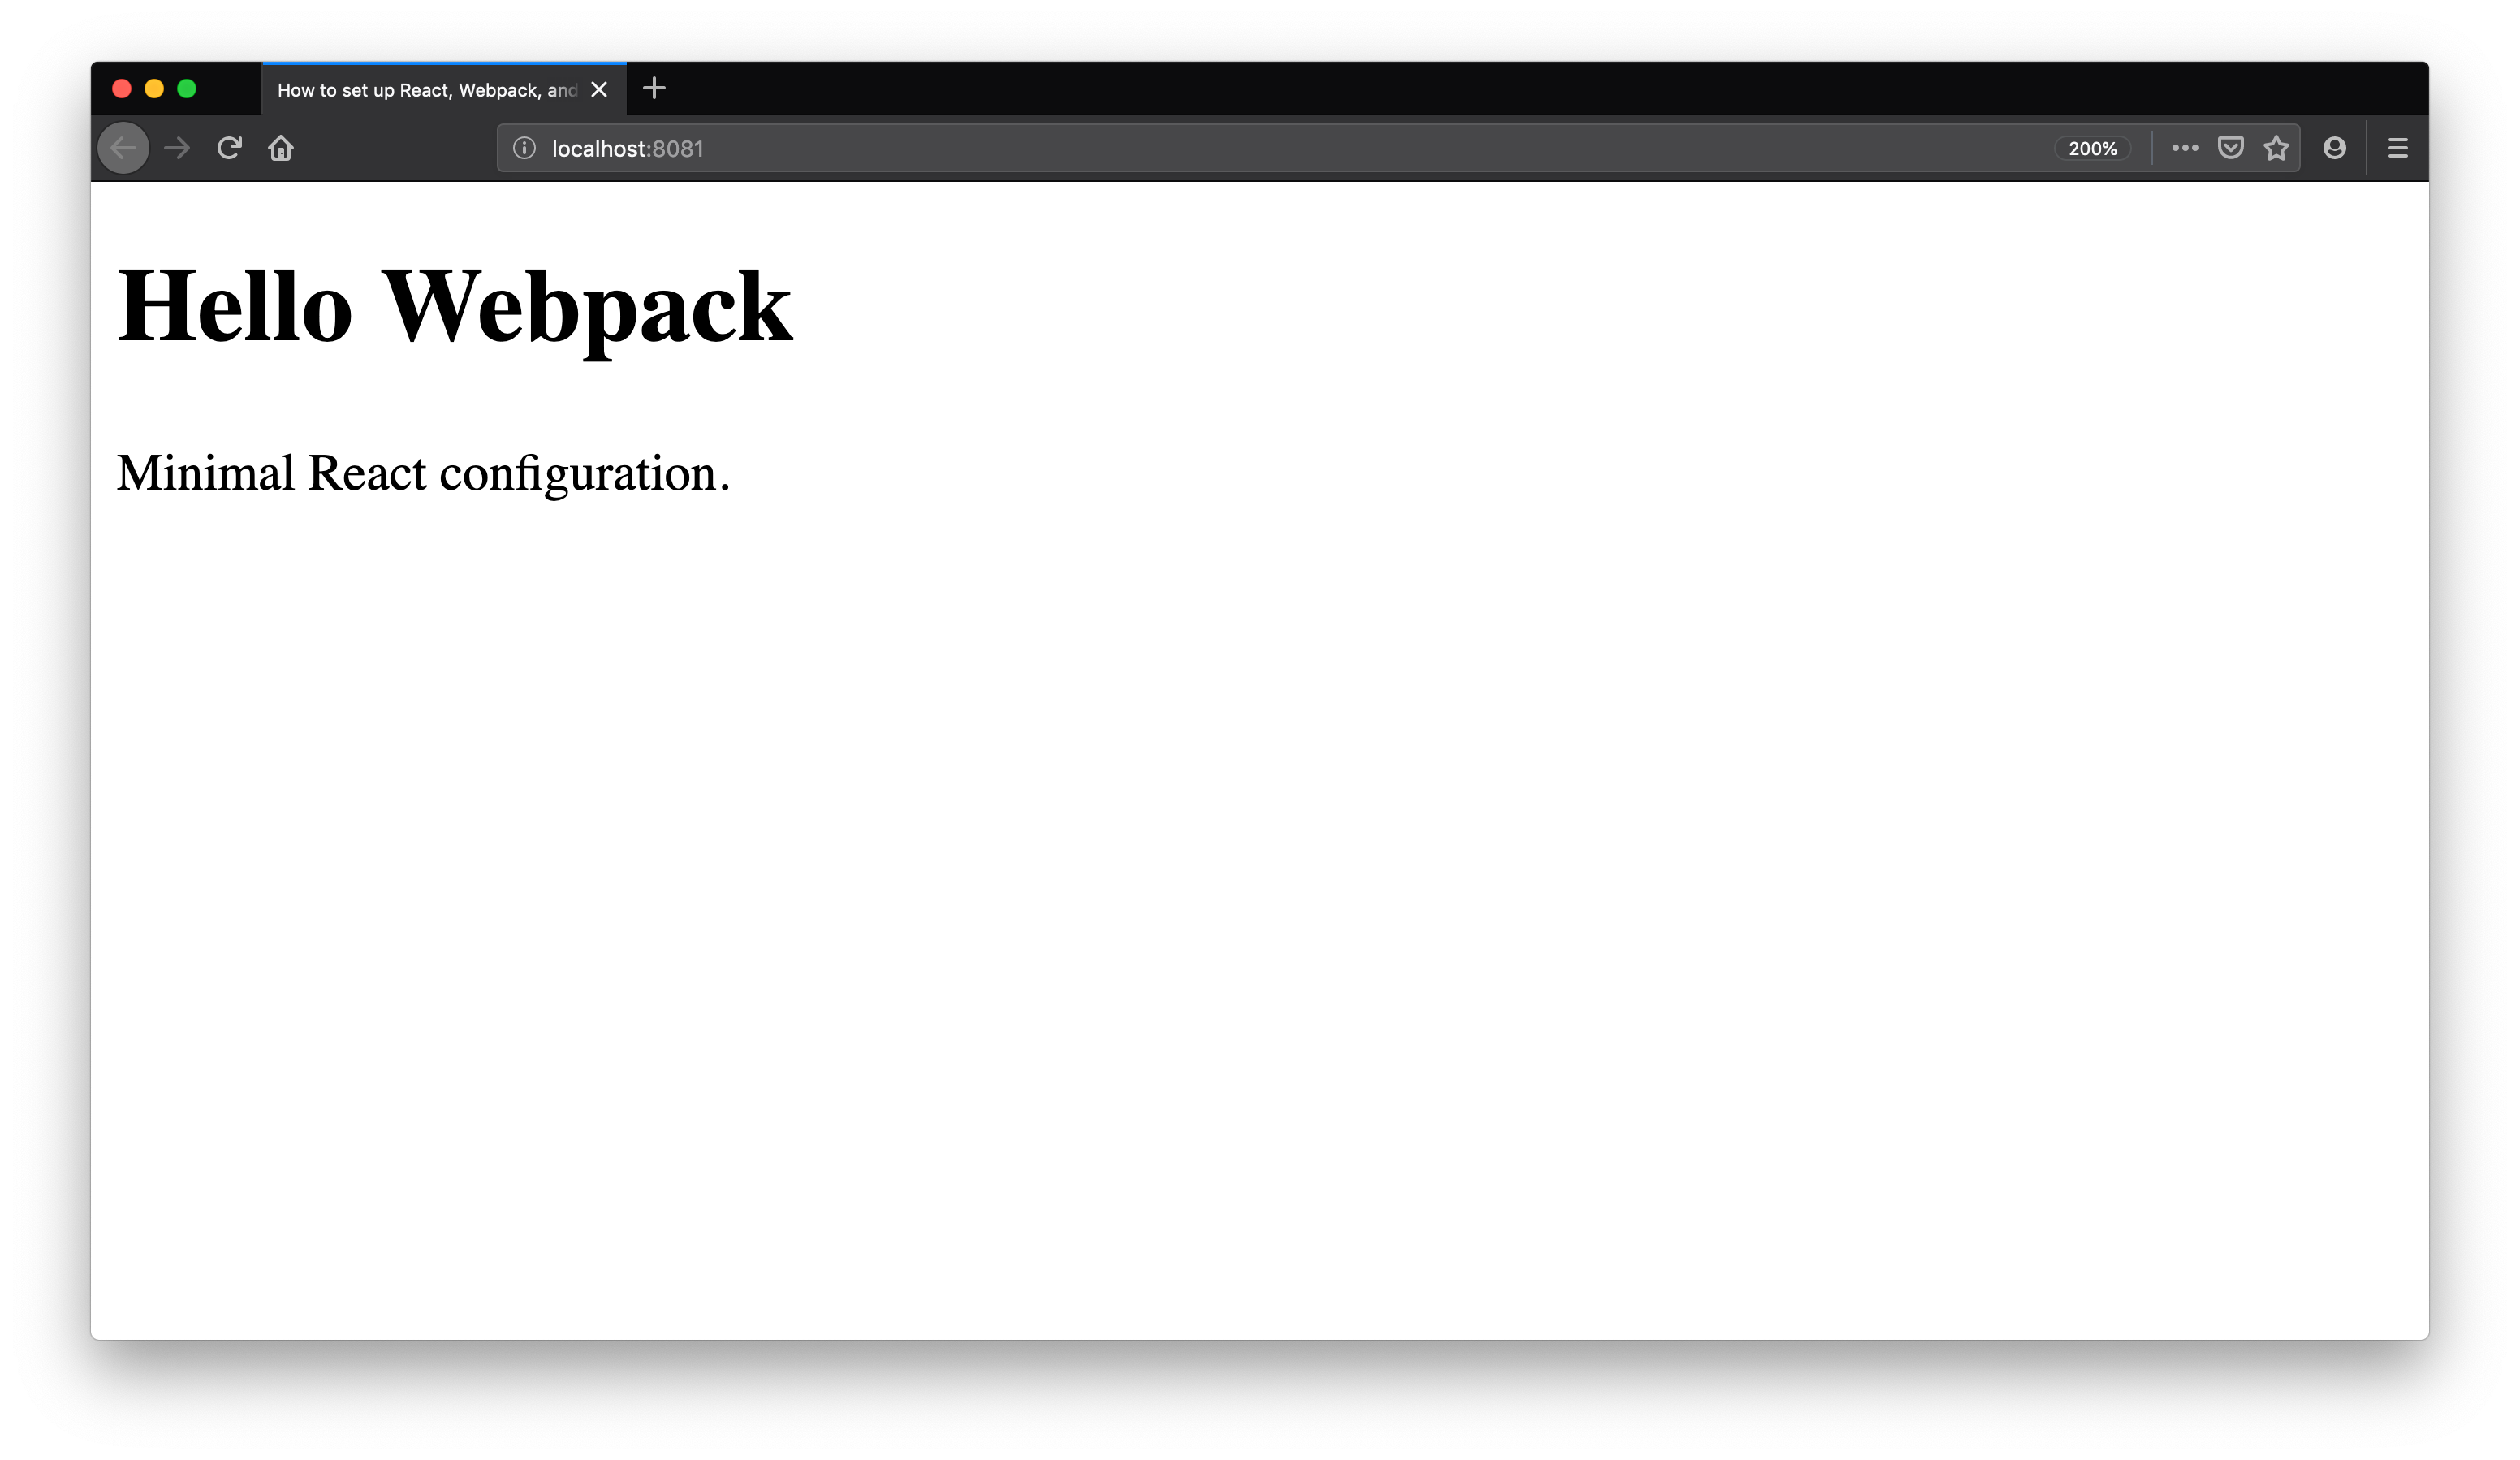
You can find code for this tutorial in webpack-react-tutorial github repo.